Insulating a loft
Insulating your loft correctly will not only save you money on your heating bills but also help the environment. The regulation depth for blanket insulation is around 30cm. A good approach is therefore to lay 15cm of insulation between the joists and a further 15cm layer across the top of the joists. To estimate the quantity you require, divide the loft area (in square metres) by the area of one roll, which should be marked on the roll packaging. However, you must check the depth of the rolls you are buying as blanket insulation can be sold in 5cm, 10cm and 15cm depths. Therefore, if you choose 10cm depth rolls, you will need three times the quantity to be up to the regulation level of  30cm. Make sure you have a safe working platform when working in the loft, and wear eye protection, gloves and a dust mask. Overalls are also a good idea to stop debris and fibres lodging in you clothes.
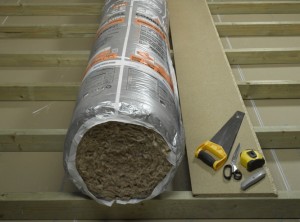 |
1. Make sure that you have walking boards to work off when working in the loft. You must not step between the joists. Chipboard storage panels are ideal. |
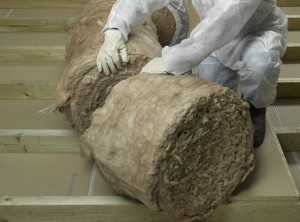 |
2. Unwrap the insulation and break into rolls following the manufacturer’s pre-cut guidelines around the roll. This will break up the roll into manageable widths. |
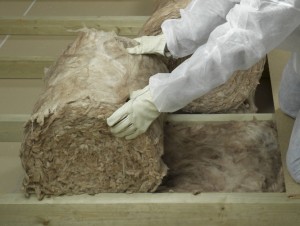 |
3. Roll out the lengths of insulation between the joists, gently pushing it into position. Do not compress it or its ability to insulate will be lessened. |
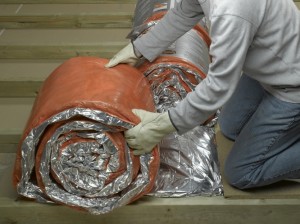 |
4. Alternatively, if you are using encapsulated insulation, there is no need to unwrap it, you simply roll it out, in its packaging, in between the joists. |
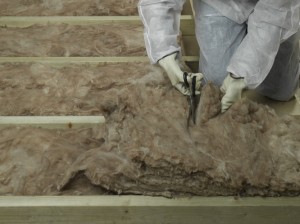 |
5. When a roll finishes and you still have a gap to fill to the end of the row, you can trim insulation to length using scissors or a craft knife. |
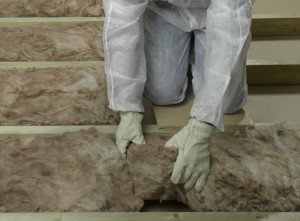 |
6. If you need to join lengths, simply butt the end of one length up against the next. You do not need to overlap the ends of lengths. |
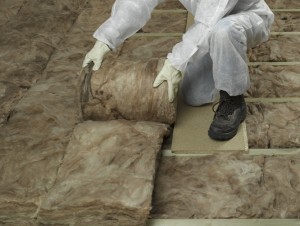 |
7. When you have completed the first layer, to build up to the regulation level of 30cm, run the next layer at right angles to the first, across the joists. |
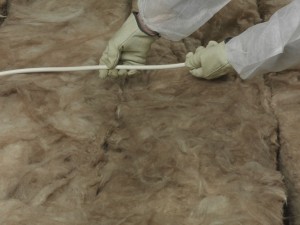 |
8. If you have electrical cables in the loft, they should not be left below the insulation, so carefully lift any wires to sit on top of the insulation. |
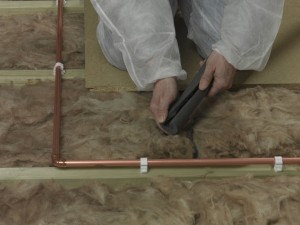 |
9. Any pipes in the loft area should be lagged using pipe insulation. This simply splits down one side and is slipped over the pipes. |
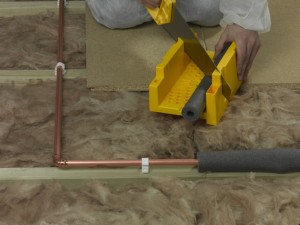 |
10. Corners must be mitred to produce a tight join between lengths of pipe insulation. Cut using an old saw and a mitre block. |
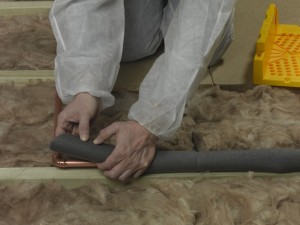 |
11. Butt join any straight cuts on the pipe insulation and so be as accurate as possible when positioning mitred sections at corners. |
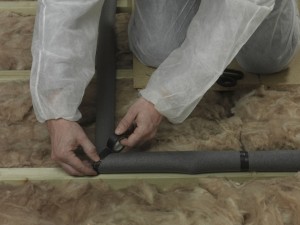 |
12. When you covered all pipes, tape all the joints to ensure that the pipes are tightly sealed in the insulation material. |
Insulation tips
- If the loft space is ventilated, leave a small gap at the eaves to allow ventilation of the loft area to continue.
- If you want to build a storage platform, you may need to increase joist depth to raise them over the top of the insulation layers. Fix treated timber (10x5cm) on top of the existing joists; then add chipboard loft panels. Panels should have holes drilled in them to allow the passage of water vapour into the ventilated loft. Drill rows of 10mm holes in the loft boards at a minimum of 100mm centres.
- Do not insulate below water tanks in the loft. Instead use purpose-made insulation jackets to protect the tank from the cold.
- Any electrical fittings, such as spotlights in the room below, must be cut around to avoid them overheating. Most manufacturers recommend a minimum 7.5cm gap around the fitting.
- Laying a plastic membrane between joists before laying insulation will prevent moist air entering the entering the insulation and loft space. With no membrane, you could have condensation problems.
