Staining wood
Staining wood is a great alternative to painting, whilst still providing an extremely hardwearing finish. Wood stains may be bought water-based or solvent-based, and many may be used inside and out – check the manufacturer’s guidelines. As with all decorative coatings, make sure you have good ventilation when applying.
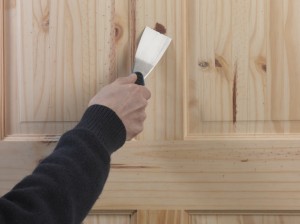 |
1. Fill any holes using a wood filler that is suitable for accepting stain. When dry, sand the entire surface with a medium grade sandpaper. |
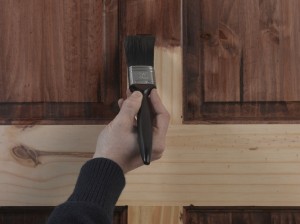 |
2. Apply the stain with the grain, coating one section of timber at a time. Don’t overload the brush and try to avoid leaving drip marks. |
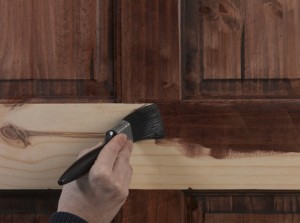 |
3. Make sure that you are precise when making a join between different sections, as badly directed brush strokes may show through in the final finish. |
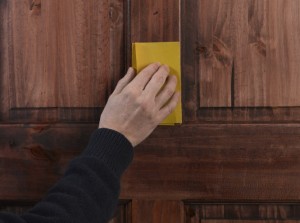 |
4. Sand with fine grade sandpaper between coats, taking care to sand with, and not across the grain. Dust off any residue with a soft cloth. |
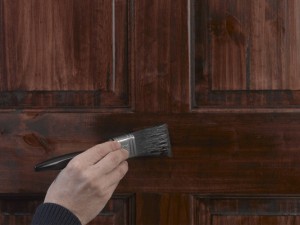 |
5. Apply a second coat of stain when the first has dried. This will darken the wood further and also create a more even depth of finish. |
Wood staining tips
- Follow the manufacturer’s guidelines about preparing the stain before use. Some require very thorough stirring, or shaking in the tin.
- Stain cannot be applied over another coating, and so you must always begin with new wood, or stripped wood. The exception here is if you are applying a maintenance coat on top of the same stain – for example on outside windows. In such cases, sand back the old finish, clean down and then apply the new coat(s).
- It’s always best to do a small test patch on the wood you will be staining, to check out the colour once dry. This will vary considerably depending on wood type, and so it is not always best to take the colour swatch in the shop as being too exact.
- Stains come in many sheen finishes from matt, through to high gloss.
