Fixing into tiles
The secret of fixing into tiles is simply making sure that you use the correct drill bits. Always take care as there may be hidden pipes or services below the wall surface so be sure to use a cable, pipe and stud detector to help find safe fixing positions. Also, before proceeding check and double check that the holes you are making are exactly right for whatever the item you are fixing to the wall – tiles aren’t like a wall surface where you can simply fill, sand and paint over any mistakes.
 |
1. At a safe fixing point, mark the position of the fixing requirement with a felt tip. Position masking tape over the mark to to stop the tile bit slipping. |
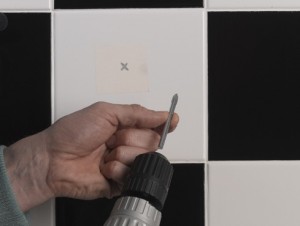 |
2. Insert the correct size of tile bit into a cordless drill/driver, according to the size of the fixing. The bit size will be written on its side. |
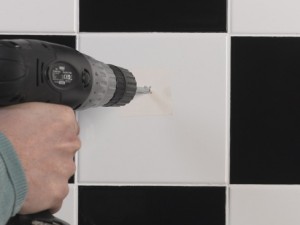 |
3. Slowly start up the drill (not on hammer mode) allowing gradual penetration of the tile surface and continue until you are through the tile. |
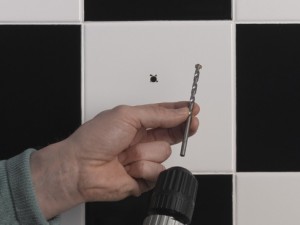 |
4. Remove the masking tape. If you are fixing into a masonry wall, change the bit for a masonry bit and drill through the hole in the tile to wall plug/fixing depth. |
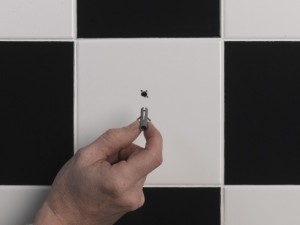 |
5. Insert the wall plug (not required if wooden stud behind). Drill further holes as required, and then screw your fitting in place. |
Tile drilling tips
- The dust created when drilling the hole can stain the grout and/or silicone sealant close by. Therefore try my technique for catching drill dust to avoid this problem
- The tile bit shown above is designed for ceramic tiles and so if you are fixing into some of the harder porcelain tiles, for example, you will probably require something more heavy duty. See my guide – ‘Drilling into porcelain tiles’ for more information.
