Replacing a broken tile
Replacing a broken tile is a straightforward job, Â but you do need to be careful not to damage surrounding tiles during the process. The technique shown below deals with situations where single tiles may have cracked, been scratched, or perhaps a fitting has been moved and you want to make good the area.
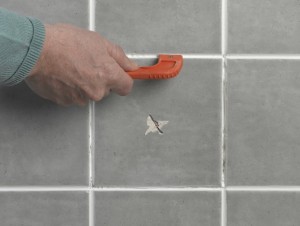 |
1. Scrape round the edge of the damaged tile with a grout raker, taking care not to damage the edges of the sound tiles. |
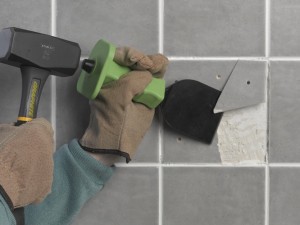 |
2. Drill a number of holes in the tile with a masonry bit. Use a bolster and club hammer to loosen sections of the broken tile. |
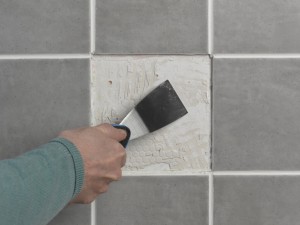 |
3. When you have removed all the sections of tile, scrape off as much of the old adhesive as possible from the wall surface. |
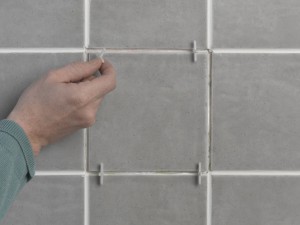 |
4. Apply tile adhesive to the new tile and position with spacers to maintain the gaps for grout and to line up the new tile with the surrounding ones. |
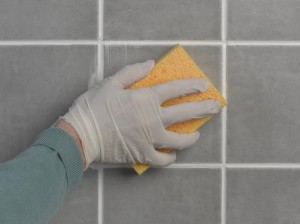 |
5. Once dry, remove the spacers and grout the joints. Remove any excess grout from the wall surface with a damp sponge. |
Tiling tips
- It’s always a good idea to hang onto a few tiles after retiling a room, just for occasions such as this. The alternative is to try and find a good match, which is often very difficult, as even if you find the correct colour and make of tile, it will often be of a slightly different shade because it’s from a different batch to the original.
- Normally I wouldn’t recommend a ‘fix and grout’ product, because I think that adhesive and grout have separate functions and therefore should always be bought separately. However, for a small repair like this (as long as it’s not in a shower or under regular water attack), I think they are an ideal money-saving option – it also means you don’t end up with a large bag of grout and a large bag of adhesive taking up room on a shelf somewhere.
