Laying vinyl floor tiles
To achieve a good finish with vinyl tiles, they must be laid on as flat a surface as possible. Concrete floors can be tiled on direct as long as they are sound, level, clean and dry. The floor must contain an integral damp proof membrane (dpm) – standard in modern homes, but not always present in older properties. If you have floorboards, they must be covered with thin ply or flooring grade hardboard to provide a sound flat surface for applying the tiles.
How many tiles you need may be worked out by dividing the required floor area by the area of one pack of tiles.
Length of room multiplied by width of room = The number of square metres
Square metres divided by pack coverage = How much you need
Its always best to add 10% for cutting waste.
Your chosen starting point is important to establish a balanced design that allows for manageable cuts. If possible, make sure that you don’t have to cut small slivers on any wall edge of the design.
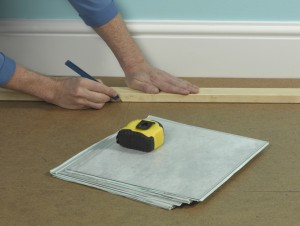 |
1. At your chosen starting point, simply draw a pencil line across the floor surface with the aid of a straight edge – like a length of batten. |
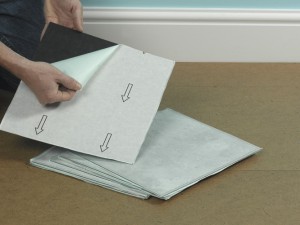 |
2. Remove the backing from the first tile. Make sure you don’t get any dust or grit on the adhesive. |
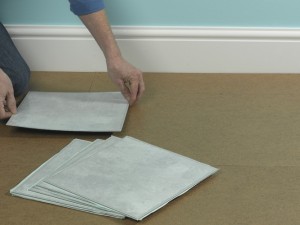 |
3. Place the tile in position at the starting point and smooth it flat. Be exact with positioning as the adhesive goes off quickly. |
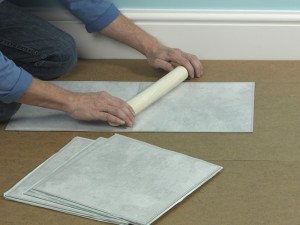 |
4. Position the second tile, tightly against the first – a rolling pin is a good tool to use for flattening down the tiles. Keep adding tiles row by row across the floor. |
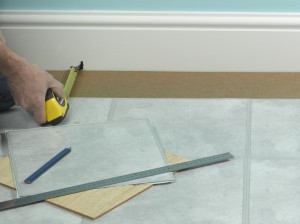 |
5. For the space around the edges, measure the gap and mark on a tile for cutting. Accuracy is important for a neat finish up to the skirting. |
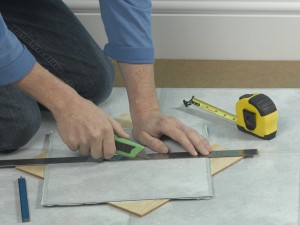 |
6. Use a straight edge – a steel rule is ideal – and a craft knife to cut the tiles. Use a wooden offcut as a cutting board. Simply peel the backing off cut tiles and stick them in place. |
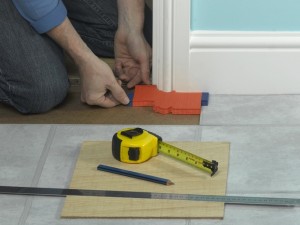 |
7. Continue filling gaps around the edge. A profile gauge is ideal to mark out the contours around the base of an awkward shape, such as by the architrave. |
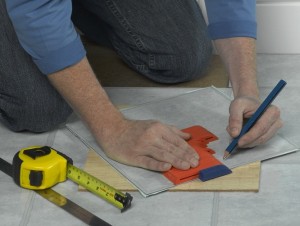 |
8. Mark off the profile of the cut required on a tile. Cut the profile using a craft knife and stick the tile in place. |
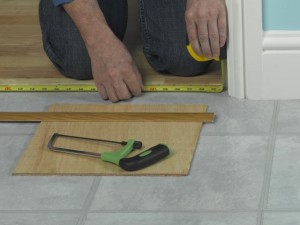 |
9. At doorways, measure and cut threshold strips to fit and cover the join with the floor covering in the adjacent room. A junior hacksaw is ideal for cutting down either wooden or metal thresholds. |
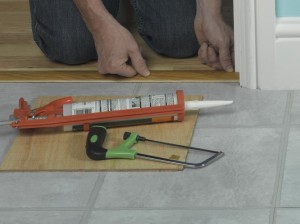 |
10. The threshold can be screwed down or you can use a grab adhesive to hold it in place. |
Vinyl tile tips
- A starting point square to one wall is important. If you dry lay a row of tiles close to one wall, you can then measure across to the opposite wall to check what size of cut tiles this position will leave. You can then adjust the dry laid row until a good balance is achieved. Check at the end of the row, as this will help to square up your starting position relative to the walls. See my guide ‘Where to start tiling a floor’ for more information on the principles of the best places to begin.
- There are alternatives to the grid design shown here. You can stagger joins to create a brick bond design, or consider going diagonally across the room for a diamond effect pattern. Whichever design you choose, the tiles are laid in the same way – just adjust the start position accordingly.
- Leave tiles in the room they are to be laid in for at least 24 hours to acclimatise to conditions before you lay them.
- Self-adhesive cork tiles are laid in much the same way as shown here, but some types may require sealing after laying.
- Refer to the other flooring guides if you need more information/tools/materials for preparing the floor (subfloor) before laying the tiles.

I do appreciate the post that you have made in here. Thanks for sharing this one.
Hi Kelly,
Glad I could help,
Best,
Julian
Fantastic blog! Vinyl laying tips are excellent and useful. Thanks for sharing…