Laying a patio
Take your time at the planning stage, if you have decided to lay a patio. After all, it’s a permanent feature and everything from choosing your slabs to ensuring good drainage needs close consideration before you begin work. On this latter point, it is important to maintain a gentle gradient away from your house and ideally towards groundwater drains. For small patios you only need a spirit level to judge gradients – for larger ones, laying out a sloping string line across the site provides an accurate guide to follow. A fall of 1cm every 80 cm is acceptable. The technique shown here is making use of a product designed for the DIY market, called Slablayer. In this example I’m laying the slabs on a compacted layer of hardcore, although some Slablayer manufacturers say that you can literally lay the slabs on compacted soil. The hardcore option, in my mind just provides a little more security as it were.
 |
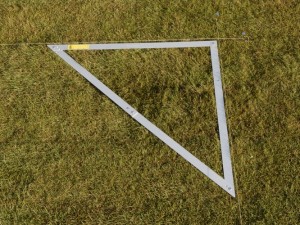 |
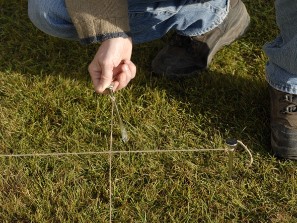
| 1. In this example, some lawn excavation is required. Mark the area to be paved with pins and a line. Remember that if your patio adjoins the house, the finished patio level should be 15cm lower than the dpc. | 2. Use a large builder’s square to check that each corner is 90 degree square. Adjust lines if necessary. |
 |
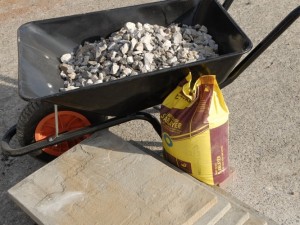 |
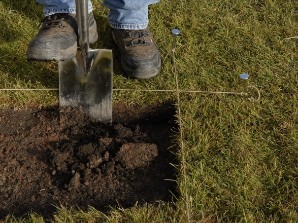
| 3. Cut into the grass with a spade to outline the area. Once the patio has been marked, you can remove the string lines. | 4. Dig out the area to allow for 10cm of hardcore, 2.5cm of Slablayer and the slab depth. The final patio should sit 1cm below the grass. |
 |
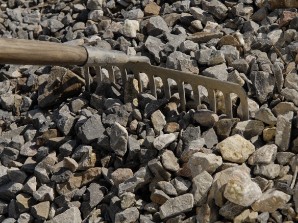 |
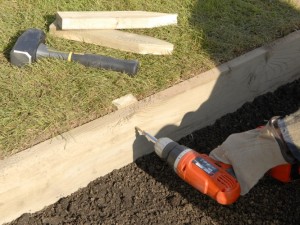
| 5. Drive in pegs at 1m intervals around the edge, level with the ground. Fix treated timber to the pegs. | 6. Infill with hardcore creating a 10cm layer. A rake can be useful to move the hardcore around. You can tamp down the hardcore with a sledgehammer but a hired plate compactor is the ideal option for providing the most solid base. |
 |
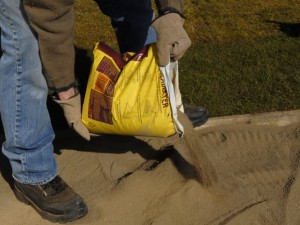 |
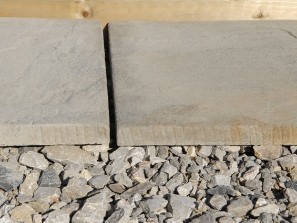
| 7. Dry lay some paving slabs to check the fit across the patio area. Remember to allow for mortar joints. | 8. When you are satisfied with the fit, remove the slabs and evenly level out a 2.5cm layer of Slablayer. Be as accurate as possible here. |
 |
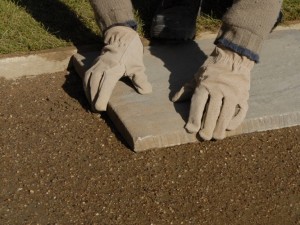 |
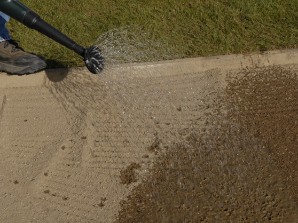
| 9. Sprinkle the Slablayer with water, using the fine rose of a watering can, as directed by the manufacturer. Rake the whole area level once more. | 10. Begin laying the slabs, starting at the edge of your area. With large slabs, two people will be required to lift them in place. |
 |
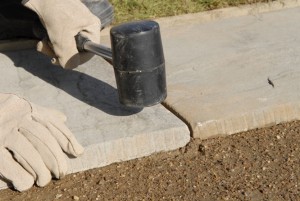 |
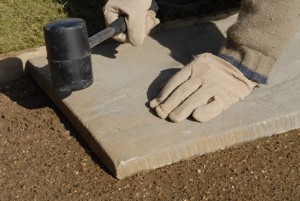
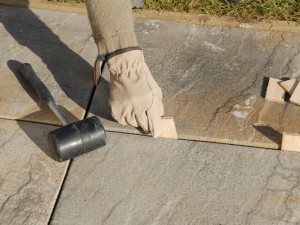
| 11. Ensure that each slab is lightly bedded into the Slablayer. A couple of taps with a rubber mallet is generally all that is required to settle it firmly in place. | 12. Slabs may be butted tightly against each other, or a gap left for a wider joint. |
 |
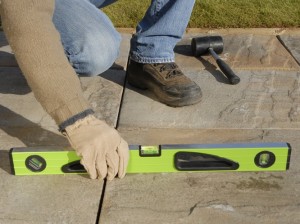 |
| 13. To keep the width of gaps between slabs consistent, use spacers. Offcuts of ply are ideal. Keep checking joint widths as you lay more slabs. | 14. As you continue laying the rest of the slabs in the design, use a spirit level to keep checking the level and gradient across the site. |
 |
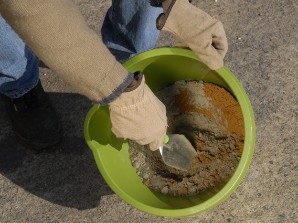 |
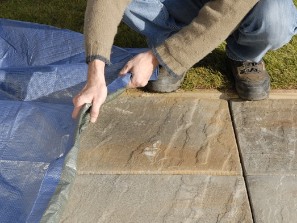
| 15. When all the slabs are laid leave the Slablayer to set for 48 hours. Cover the area with plastic sheeting if bad weather is forecast. | 16. If slabs are not tightly butted, to infill joints mix up a dry mortar mix (four parts sand to one part cement), or, Slablayer may be used again for this. |
 |
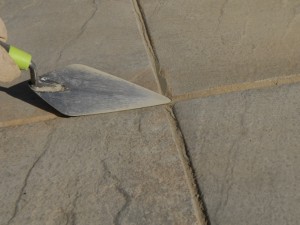 |
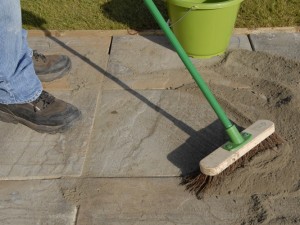
| 17. Spread the mix over the slabs and use a soft broom to brush the mix over the joints, gradually, and evenly, filling them all in. | 18. Once all the joints are full of dry mortar mix, use a pointing trowel to firm the dry mortar between the slabs. Add more mortar as required. |
 |
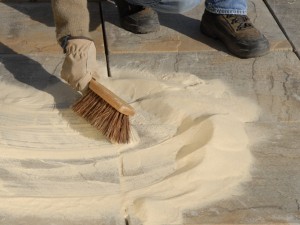 |
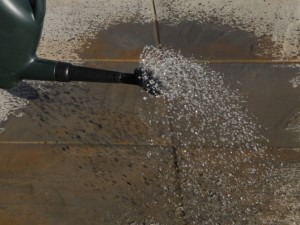
| 19. You can either leave the mortar mix joints to absorb moisture and slowly harden, or you can sprinkle water across the patio using the fine rose with a watering can. | 20. As an alternative to a mortar mix, you can finish the joints with kiln-dried sand. Spread it across the area and brush it into the joints. Leave it to settle for a few days and then repeat. |
Patio tips
- All in all I think the ‘Slablayer technique’ offers a very good option for small to medium sized patios. After all, there is no need for a cement mixer (or hand mixing mortar with a shovel!). It’s not suitable for drives or parking areas, in which case a lot more work is required for the base and foundation of the patio.
- There are some reports of this system failing where the slabs do not adhere properly when laid. However, many manufacturers recommend that dampening down the back of the slabs with water (or diluted waterproof PVA), just before laying, eliminates this possibility, and is therefore a practice I would recommend.
- Above, I have shown two options for pointing the slabs after they have been laid. Of course, you may also use a wet mortar mix, but great care is required here to avoid staining the slab faces with excess mortar. In all cases, remove excess mortar from the slab faces before it dries.
- It is ideal, but not always possible to make a design that requires no cutting of slabs. Some manufacturers will even provide designs to help in this area. If you do need to make cuts, a stone cutter or angle grinder is the ideal tool. They may be bought or hired, but as always, take great care when using these tools.
