Laying a paving slab path
Paving slabs or concrete slabs are a good solid option for constructing a path. The technique below shows using a product called Slablayer which acts as the bedding layer for the path. Slablayer is basically an alternative to laying the slabs on a wet mortar bedding layer, and is becoming a very popular option for the DIY enthusiast, because of its ease of use. Remember you need to be as accurate as possible when marking out for the path, so in this example path width was measured out to be exactly 2 slabs width, but you need to include pointing gaps and edging strip widths in the calculations. This design also allows for minimal cutting, but if you do need to cut slabs, consider hiring a slab-cutter, or stone cutter.
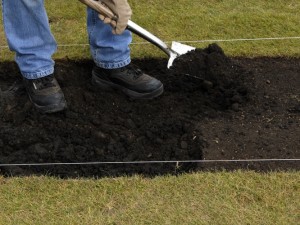 |
1. Mark the line of the path with the pins and line. Mark all along the edges and dig out the path with a spade before you remove the string lines. |
 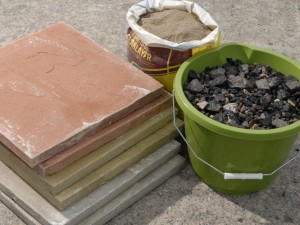 |
2. Dig out the area to allow 10cm of hardcore, 2.5cm for slablayer, and the slab depth. The final path should sit 1cm below the grass. |
 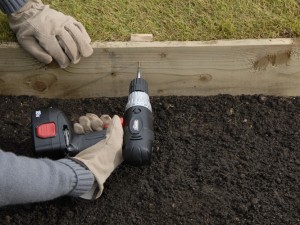 |
3. Drive in pegs along the length of the path at 1m intervals, level with the ground. Fix treated timber edging to the pegs. Check that the sides are level. |
 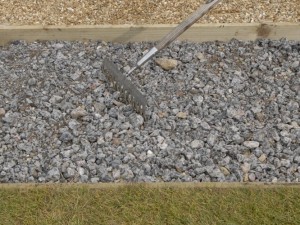 |
4. Rake 10cm of hardcore level across the path area and compact it with a sledgehammer, or a hired plate compactor, to make a solid base. |
 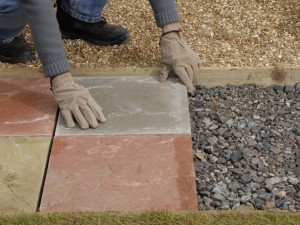 |
5. Dry lay the paving slabs on the hardcore base of the path to make sure they fit, remembering to allow space for the mortar joints. Once checked, remove the slabs. |
 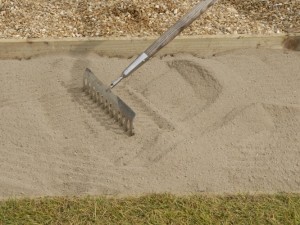 |
6. Level 2.5cm of slablayer with a rake. Sprinkle with water using the fine rose of a watering can, as directed by the manufacturer. Rake area level again. |
 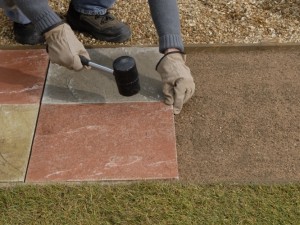 |
7. Make sure you maintain a consistent spacing between the edges of slabs – a 1cm gap is ideal. Use offcuts of ply as spacers if you wish – alternatively check out this link – ‘Spacers for paving slabs’. |
 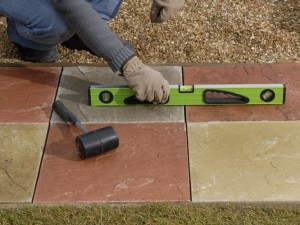 |
8. Continue laying slabs, lightly bedding them into the slablayer. Use a rubber mallet to settle them. Check all are level and the gradient even as you go (see below in things to consider). |
 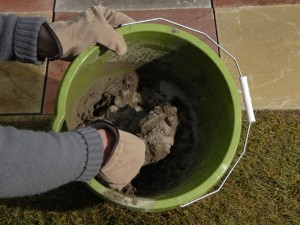 |
9. Leave the Slablayer to dry for at least 48 hours. Mix up a dry mortar mix (four parts sand to one part cement), before adding a little water. Or, Slablayer may be used again. |
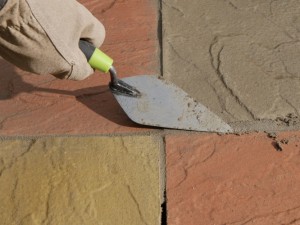 |
10. Press the mortar between the slabs, making flush joints and removing excess mortar as you go. Alternatively, brush a dry mortar mix, or Slablayer, into the joints and sprinkle with water. |
Path laying tips
- When laying a path, you need to consider drainage and therefore a slight gradient on the path is ideal. The recommended figure is a fall of 25mm every 2m.
- Paving often slumps or fails because of a lack of compaction in the foundation of the path. In this example I’ve used hardcore to create the foundation, but if you are laying onto a relatively compact soil base, you may not even need any hardcore. In fact, Slablayer instructions do not insist on the hardcore layer, as long as the soil base its sufficiently compact. Therefore for a path, which fundamentally takes light foot traffic, you can in many cases skip the hardcore stage. However, if you are paving driveways etc., you will always need the heavy duty hardcore layer.
- There have been reports of problems with Slablayer, in that the bond between the slab and Slablayer fails so the slabs effectively loosen. The manufacturers have tackled this problem by recommending dampening the back of the slab with a diluted waterproof pva mix just before you lay the slab. So I think I’d be tempted to follow this tip to ensure a good bond.
- Of course you can lay the slabs on a 4:1 sand/cement mortar if you prefer, but if you do go this traditional method, make sure you use a continuous bed of mortar, as the alternative of laying the slabs on occasional spots of mortar (spot – bedding), often fails.
