Replacing a broken slab
Replacing a broken slab in a patio or path is a straightforward DIY job. What is also good news is that there is no need to mix up any mortar, as you can use a product called Slablayer to bed down a replacement slab, and this is the technique I’ve shown in the example below. For more details on general points about laying slabs and using Slablayer, see my guide ‘Laying a patio’.
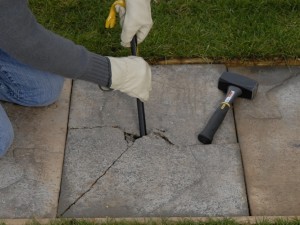 |
1. Lift the broken slab with a pry bar. If it is concreted or mortared in place, you may need to break it up with a cold chisel and club hammer. In this example there is no pointing, but if your slab is pointed in, carefully remove the pointing using a hammer and cold chisel. |
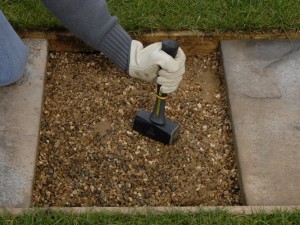 |
2. Remove debris down to at least 2cm below the base level of the surrounding slabs. Level the area off with some hardcore or you can use some gravel well compacted in place. |
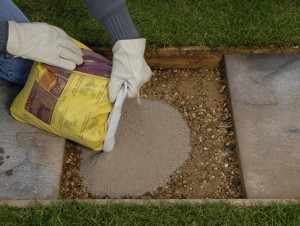 |
3. Pour some Slablayer mix onto the compacted gravel. Make this around 2cm deep, up to the base level of the surrounding slabs. |
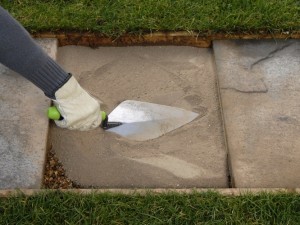 |
4. Use a trowel to level out the Slablayer evenly. |
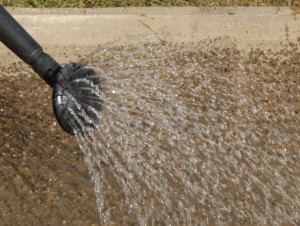 |
5. Sprinkle the Slablayer with the fine rose of a watering can, as directed by the manufacturer. |
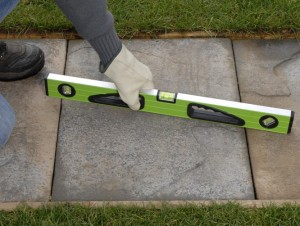 |
6. Position the new slab and check that it’s level with the surrounding slabs. In this example, no pointing is required as the slabs are butted up against each other. If you need to repoint, you can also use Slablayer for this purpose. |
Slab laying tips
- If you need any further information about re-pointing, check out my guide ‘Repointing patio slabs‘
- Some slabs are laid ‘dry’ on sand (the technique more associated with pavers or block paving), in which case it simply becomes a case of making sure you create a perfectly level bed of sand to sit the new slab on. Use sharp sand for the bed as building/soft sand can become water-logged, shift around, and therefore you end up with an uneven surface on which a slab can easily crack……
