Changing cupboard handles
Changing handles is a great way of revamping the look of cupboards. Most cupboards tend to have a simple catch mechanism to hold doors closed, which may be magnetic or ball catch design. However, with kitchen cabinets the specially designed hinges are normally the main mechanism that pulls the doors into a closed position. Therefore if you choose to change handles or knobs, it couldn’t be easier as most are simply secured in place by the thread of a screw that is inserted through the door and into the handle (knob). In the example below, a knob is being changed for a handle, but the same principles can be applied for changing a handle to a knob.
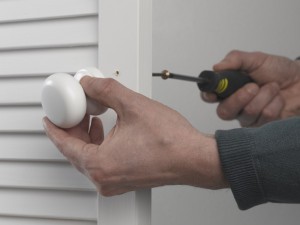 |
1. Remove the existing knob by unscrewing the retaining screw that passes from the back of the door though into the back of the knob. |
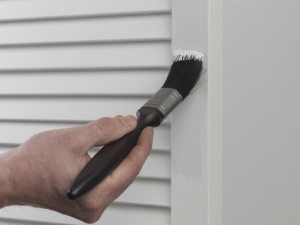 |
2. Fill the hole with filler, sand smooth when dry and repaint the area. More than one coat may be required for a seamless finish. |
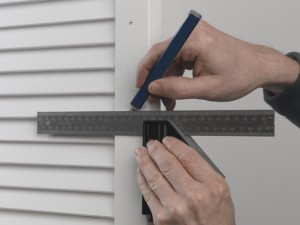 |
3. Measure the distance between the new handle thread positions. Decide on the best position for the handle and then transfer the measurements to the door face. |
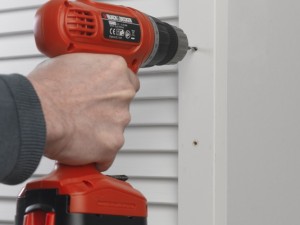 |
4. Pilot hole with a bit the width of the handle screws. Clamping a block of wood to the back of the door will help prevent splitting the wood as the drill bit exits. |
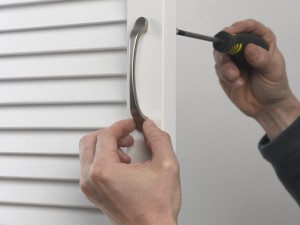 |
5. Fix the handle in place. If the new retaining screws are too long for the depth of the door, they can simply be cut down using a junior hacksaw. |
Cupboard handle tips
- You may not even need to drill a hole if you are changing a knob for a knob or handle for a handle if it is of a similar size.
- Double check the length of the new retaining screw(s), as if too long, you risk cracking or breaking the new handle when you tighten it in place. The thread of the screw(s) needs to just emerge far enough from the door surface to connect securely and no further. You can cut down the length of a handle screw using a junior hacksaw.
