Fitting a water butt and diverter kit
Fitting a water butt and diverter kit to a suitable downpipe is one of the simplest ways of saving water and making use of the thousands of litres of rainwater that runs off the average roof each year. A plastic downpipe is shown here, which is the easiest type to cut into. You can still fit a diverter if you have metal or cast iron guttering – see ‘Rainwater diverter for metal downpipe’.
 |
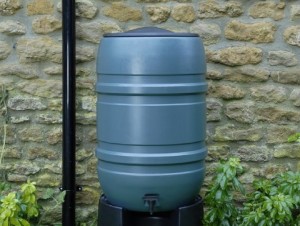
1. Choose a discreetly sited downpipe and ensure there is plenty of room to stand a water butt nearby. Put the butt on a stand so that you can get a watering can under the tap. |
 |
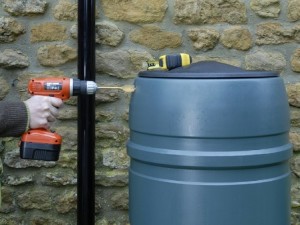
2. In order to direct water from the pipe to the butt, you will need to fit a diverter kit. Drill a hole, as directed, near the top of the water butt, close to the downpipe. |
 |
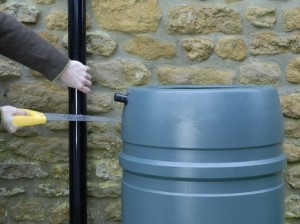
3. Cut a section out of the downpipe as directed. Be accurate with the positioning to ensure the unit works correctly. Use a spirit level to get the inlet points at the right levels. |
 |
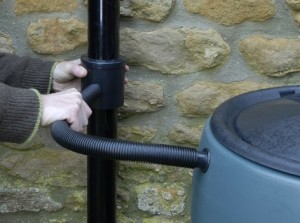
4. Fit the diverter to the downpipe and connect to the water butt with the tube. The butt will fill automatically with rainwater, but once full the diverter will direct water to flow down the downpipe again. |
Some water butt considerations
- There are many different designs of diverter, and only one example is shown here.
- The size of hole you need to drill in the water butt will be specified by the rainwater diverter manufacturer.
- There’s nothing to stop you buying more than one water butt. Extra butts may be connected to the first one, or you may prefer to position extra butts on other downpipes.
- Water butts come in different sizes with a standard 210 litre option shown in this sequence. Obviously, you can go bigger or smaller, depending on your needs and there are many different designs available, but this basic plastic option is certainly one of the most cost-effective.
