Fitting kitchen base units
If you’re fitting a new kitchen, always fit base units before wall units – its simply much easier for establishing levels. The technique shown here shows the units being fixed directly to the wall surface. Â As always, take care when finding safe fixing points – a cable, pipe and stud detector can help you here.
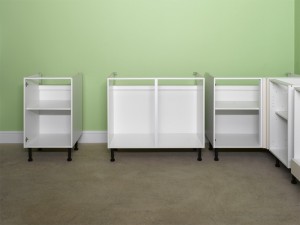 |
1. Once you’ve got the units constructed (manufacturers will always supply instructions for unit assembly), lay them out in approximate position. |
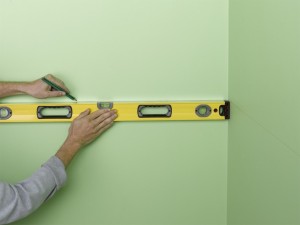 |
2. Draw a level guideline around the perimeter of the room at the underside of worktop height. This is normally between 87 and 89cm. |
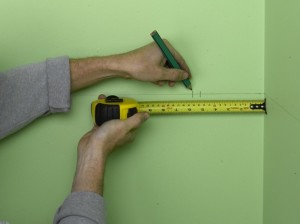 |
3. Mark off the unit positions along the line following your layout plan. If you have a corner in the layout, always begin measuring from there. |
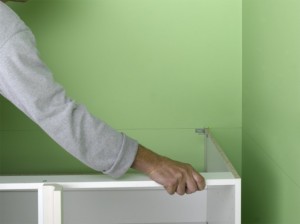 |
4. Position the first unit, again starting in the corner if you have one. Screw the adjustable feet up or down until the top edge of the unit is level with the wall guideline. |
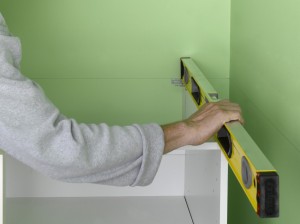 |
5. Make sure you also check the level from front to back of the unit i.e. in all directions. |
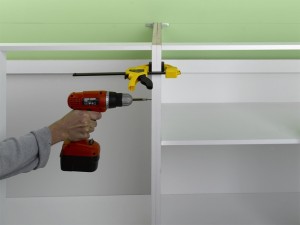 |
6. Keep adding units, adjusting heights as necessary, and checking the levels. Clamp adjacent units together as you progress. They can then be joined together with the supplied fixings. |
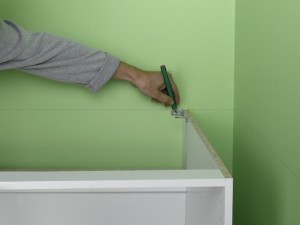 |
7. Mark through the fixing brackets at the back edge of each unit. Again, keep checking that units have not moved out of position. |
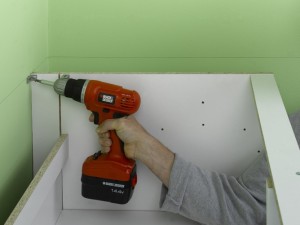 |
8. Finally drill pilot holes in fixing positions and insert wall plugs for masonry or stud walls accordingly. Keep fixing units whilst checking and rechecking positions. |
A few extra tips for fitting kitchen base units
- All the big DIY outlets sell kitchens. Wickes, B&Q, and  Screwfix are all worth looking at to see who has a particular offer on at any particular time – all these kitchens can be fitted using the techniques described here.
- Take your time when adjusting feet and levelling up units. The front edges of adjacent units must be flush or you’ll have problems fitting worktops and doors.
- This example shows simple base units – for larder units, oven units etc, the technique is much the same and follow any manufacturer’s guidelines for variations.
- Make sure you use the right wall plugs in order to get good fixings – For more information about how to fix into walls, see guides – ‘Fixing into masonry walls’ and ‘Fixing into hollow walls’.
- There is an alternative technique where you can fix a batten horizontally on the wall at base unit fixing height, and then the units are fixed to the batten. However, if you choose this method, depending on unit depth, you may need to cut out a small section along the back edge of the unit to accommodate the batten – otherwise the units will stick out too far from the wall, and the worktop won’t be deep enough to create an overhang.
