Changing a socket
Changing a socket in your home is a very straightforward electrical DIY job, but if you are in any doubt about working with electricity, seek professional advice from a qualified electrician. Any electrical work must comply with the Institute of Electrical Engineers (IEE) regulations (BS7671). Always refer to, and follow precisely, the manufacturer’s instructions when fitting a new socket. The guide below refers only to the UK. Before carrying out any work, make sure you have read all of this guide, and fully understand the entire process involved with changing a socket.
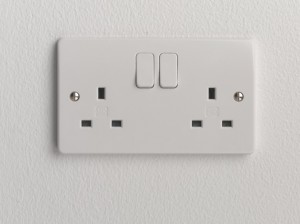 |
1. Before carrying out any work on the socket, ensure that the mains electricity supply is turned off at the consumer unit. |
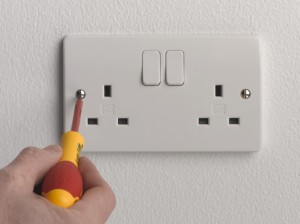 |
2. Unscrew the retaining screws on the socket in order to release it from the socket mounting box. |
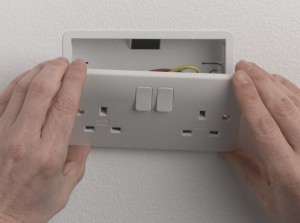 |
3. Gently ease the socket forward to reveal the socket wiring behind the outlet. |
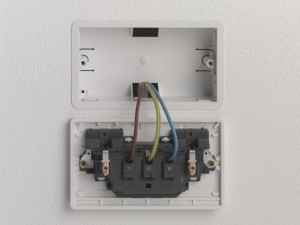 |
4. Commonly you will find three wiring configurations. This one shows a single cable connected at the socket, so you will have one wire of each colour. |
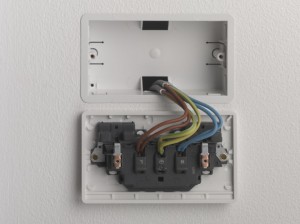 |
5. Alternatively, you may find two cables at the socket, so you will have two wires of each colour. |
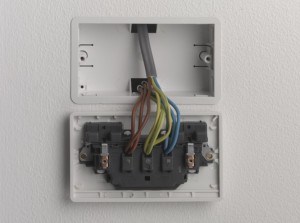 |
6. Finally, you may find three cables connected at the socket, so you will have three wires of each colour. |
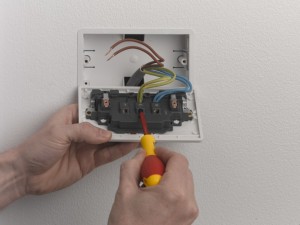 |
7. For whichever configuration, unscrew the terminal screws to release all the wires: brown = live, blue = neutral, green and yellow = earth. |
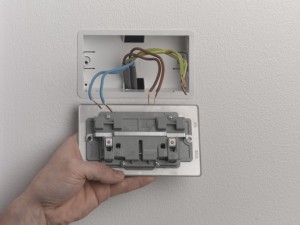 |
8. Position the new socket and note where the live (L), neutral (N) and earth (E or Earth symbol) terminals are located. |
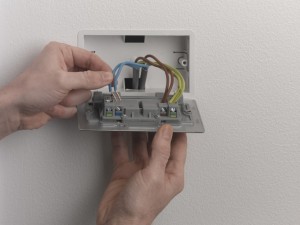 |
9. Insert the blue wire(s) into the neutral (N) terminal, brown into the live (L) terminal and green and yellow into the earth (E or Earth symbol) terminal. |
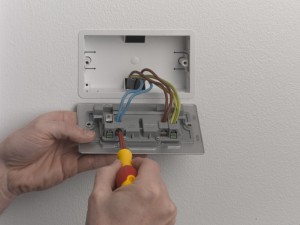 |
10. Make sure that only bare wire goes into the terminal, and no bare wire is visible. Ensure screws are tightened securely onto copper cable cores. |
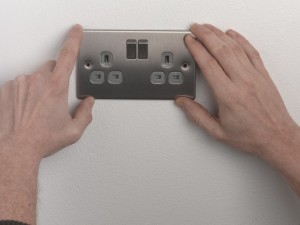 |
11. Gently press the socket back in place over the mounting box, taking care not to trap any wires between the socket and the wall. |
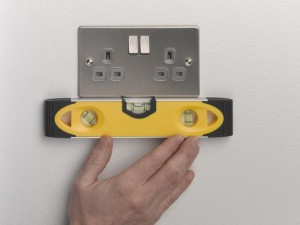 |
12. Fix in place using the retaining screws provided. Do not overtighten. Use a spirit level to make sure the socket is level. Restore power and test. |
Socket regulations
- Any electrical installation must comply with Building Regulations, specifically Part P, which came into effect on 1 January 2005, with the amended version coming into effect on 1 January 2006. I recommend you refer to these regulations before carrying out any electrical work. They are available to download at www.planningportal.gov.uk.
- Replacing a socket is non-notifiable under Part P and therefore it is not necessary to have the work carried out by a qualified electrician, or to inform your local authority building inspector of the work, except in high risk areas, which includes kitchens, bathrooms and gardens. For a full list of high-risk areas refer to Part P. Part P states that for DIY installations, the installer may wish to employ a qualified electrician to inspect and test the work to make sure that it is safe. I recommend that you do this.
- The sequence above shows fitting a metal socket onto a plastic flush mounting box and the instructions shown, only relate to plastic mounting boxes. If you have metal mounting boxes, earthing requirements may vary, so refer to the manufacturer’s guidelines.
- If the socket you are changing has two earth terminals, this means that it has a dual earth facility, which is required if you need to comply with Regulation 607 of BS7671. Again, follow the manufacturer’s guidelines and recommendations in such instances.
- If you find earth wires are bare, you must sheathe them with some green and yellow sleeving.
- Colours used in hard-wire installations (including cables supplying sockets) have changed in recent years. The table below shows the different colours for wires, prior to, and after April 2004.

- The sequence shown in this guide shows post April 2004 wiring.
