Fitting a kitchen sink and taps
Before fitting a new sink and taps, water supplies must be isolated. If your supply pipes have isolation valves, simply turn these off before making connections. Also, waste pipes will require re-connecting when a new sink is plumbed in. Push-fit fittings and/or universal compression fittings should suffice. Fitting a new sink is normally part of a new kitchen installation project and this is what is shown below.
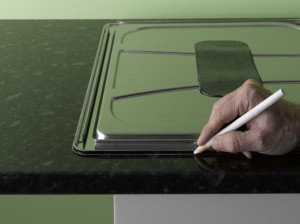 |
1. To cut a hole to place a sink into the worktop, first position the sink upside down in the required area, before drawing a guideline around it. |
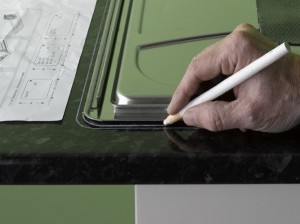 |
2. Move the sink aside and draw a second guideline around 1cm, or a depth as stipulated by the manufacturer, inside the first line. |
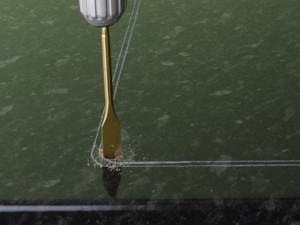 |
3. Make holes at the four corners using a drill and 10-15mm flat bit. This will allow you access with a jigsaw to cut around the entire guideline. |
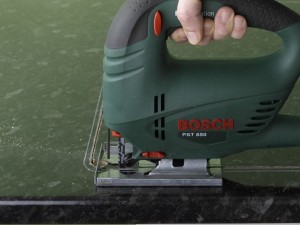 |
4. Cut out the area with a jigsaw, along the inside line. Support the worktop so that the cut area doesn’t drop or splinter at the edge. |
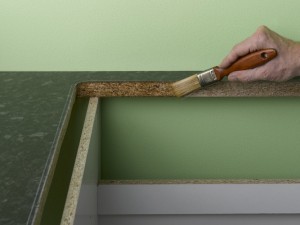 |
5. When the cut area has been removed, treat the cut edges by brushing with a water sealant and allowing to dry. |
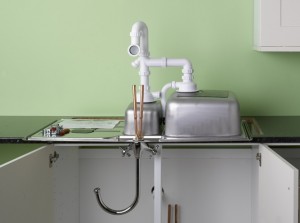 |
6. Assemble the sink, tap and waste unit supplied as specified by the manufacturer. Read all guidelines carefully during assembly. |
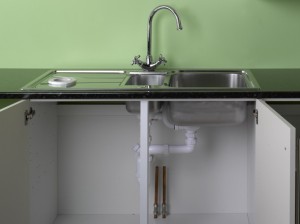 |
7. When positioning the unit, bed the sink edge on the supplied strip, or on a bead of silicone sealant. Use the clips supplied to secure in place underneath. You may then connect the waste assembly to the waste pipes. |
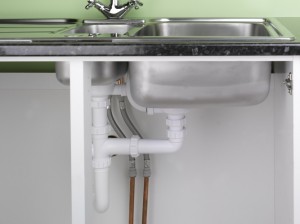 |
8. Flexible connectors are the easiest way to connect the new taps with the existing supply pipes. Once done, turn isolation valves to reconnect the water supply. For more information in this area, please take a look at my guide ‘Plumbing isolation valves’. |
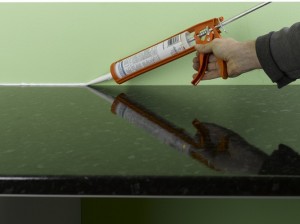 |
9. Once the worktop is fixed in place (refer to ‘Fitting a kitchen worktop’ guide if required), run a bead of silicone along the back edge of the worktop and smooth it flush with the worktop surface to provide a neat and watertight finish. |
Kitchen sink and tap tips
- Take great care when initially positioning the sink so that it fits precisely in the right position in relation to the unit below. Carefully measure the distance recommended by the manufacturer from the back edge of the sink to the wall and the front edge of the sink to the front edge of the work top.
- When cutting out the section required, make sure that you don’t cut into the unit below.
- If you haven’t got a jigsaw, you’re going to need one. Please take a look at my ‘Jigsaw Buying Guide’ for the best option on the market.
