Adding a splashback
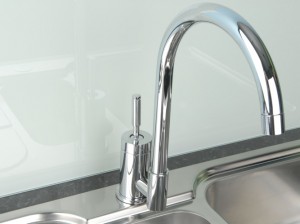
Splashbacks can be made from glass, tiles and stainless steel and are often fitted above a sink or cooker for visual impact and to protect the wall. Some splashbacks require screw fixings, others need to be fixed in place with a silicone sealant – below is the simplest option which is just self adhesive.
 |
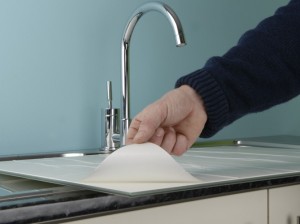
1. Remove the self-adhesive backing from your chosen splashback. If the splashback has predrilled holes, these need to be marked off on the wall, pilot holes drilled and plugged before fixing in place. |
 |
2. Position carefully and gently press the splashback in place. Be careful with uneven wall surfaces as you could risk cracking a glass splashback. If you need to screw it in place, check the fixings supplied for any washers that are needed to protect the glass and pay close attention to how they are used. |
Kitchen splashback considerations
- If you add a splashback behind a hob, check that it is heat resistant.
- If your splashback requires silicone sealant/adhesive to secure it in place take careful notice of the manufacturer’s instructions. Most specify the use of a low-modulus silicone as other types may damage the splashback backing.
