Fitting a toilet
Fitting a toilet, which in most circumstances will mean you are changing old for new, is straightforward if you are easily able to isolate the water supply, and both waste and supply pipes do not need major alterations in positioning. Below is shown the installation of a close-coupled toilet. The cistern is positioned on top of the pan, and much of the weight of the cistern is taken by the pan. When fitting a toilet that has the cistern higher up the wall (a low-level or high-level design), you must have strong fixing points to support the cistern weight. For masonry walls this is not a problem, but for hollow walls, cistern fixings must go into the wooden studs. You may have to cut some plasterboard away, fit a nogging (horizontal wooden support) to align with fixing points, and re-board the hole and plaster over before fixing on the wall.
When removing an old close coupled toilet, a good basic guide to follow is:-
- Turn off the water supply at the shut-off valve.
- Flush the toilet to remove as much water from the cistern as possible.
- Use a cup to remove water from the toilet bowl/pan.
- Unscrew the screws at the base of the bowl/pan.
- Undo the retaining screws inside the cistern that secure it to the wall.
- With both disconnected, now ease the bowl and cistern away from the wall, allowing the waste pipe to disengage from the pan connector.
 |
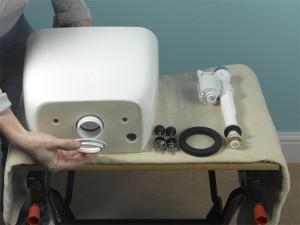 |
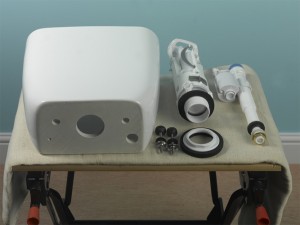
| 1. When assembling the new toilet, the main work will be putting the cistern together. Lay out all toilet parts to check you have everything. | 2. Follow the manufacturer’s guide to assembling the inner part of the cistern. This will vary from toilet to toilet depending on the type of flush valve. |
 |
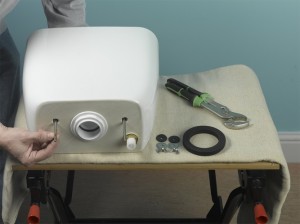 |
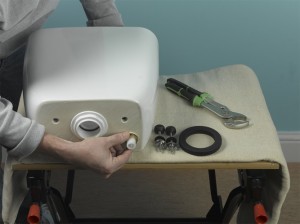
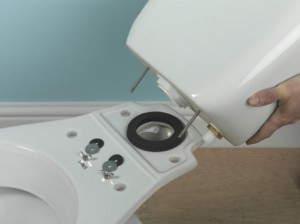
| 3. Make sure that all parts are tightened where specified, but not overtightened. Where possible, hand tighten only. If you use pliers, do so gently. | 4. In most cases, the cistern will have bolts that connect it to the toilet bowl. Make sure you thread on any washers in the correct order. |
 |
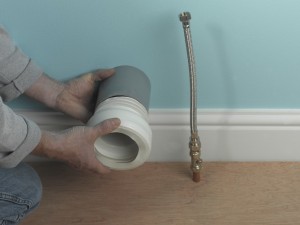 |
| 5. Make sure that the large close couple washer is positioned correctly on the top of the pan and then lower the cistern carefully in place. | 6. Insert a pan connector into the waste pipe, ensuring that it is a snug fit. In this installation a simple straight connector is required. |
 |
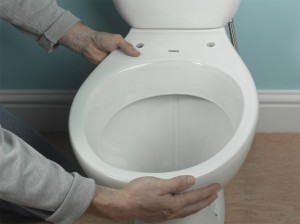 |
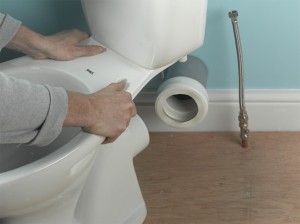
| 7. Place the toilet next to the waste pipe. Check that pipes are aligned. Most are a standard height, but if not, you may need an offset pan connector. | 8. Gently push the toilet in place allowing the waste to connect with the pan connector. Make sure that the waste pipe goes right into the connector collar. |
 |
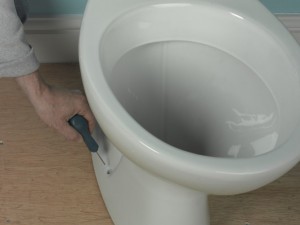 |
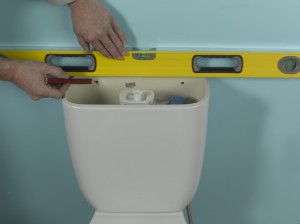
| 9. Ensure the cistern is level by placing a spirit level along the back against the wall. Mark off the fixing holes through the back of the cistern. | 10. Check that the toilet pan is level, and mark through the fixing holes in the base of the pan. Be as accurate as possible. |
 |
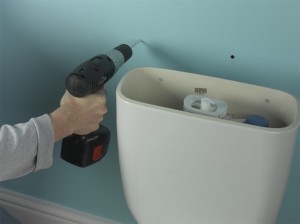 |
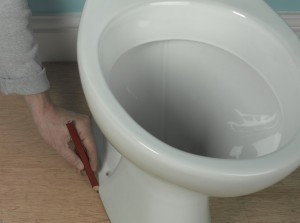
| 11. Mark around the edge of the pan with a pencil. This will ensure that you know the exact position of the base when it comes to the final fitting. | 12. Pull the toilet away from the wall. Drill fixing holes for the cistern through the marks on the wall. Choose and insert wall plugs according to the wall surface. |
 |
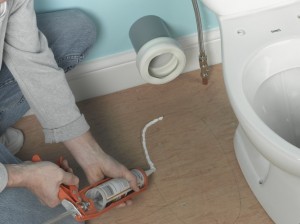 |
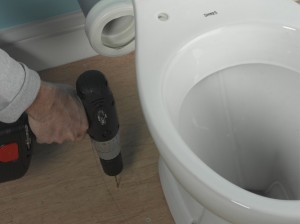
| 13. Drill pilot holes for the pan through the marks on the floor. Choose and insert wall plugs according to the floor surface. For wooden floors (as shown here) no plugs are required. | 14. Apply a generous bead of silicone around the inner edge of the marked pencil line, where the toilet base will finally be seated. |
 |
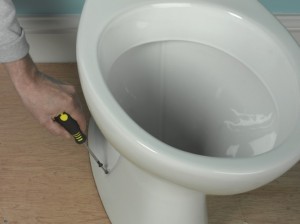 |
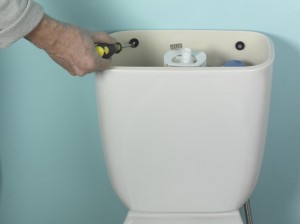
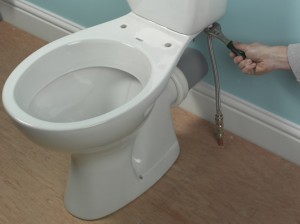
| 15. Position the toilet once again, carefully onto the sealant and screw the cistern in place. Use the washers provided – do not overtighten. | 16. Insert screws at the base of the toilet to fix the pan to the floor. Again, use the washers provided and do not overtighten. |
 |
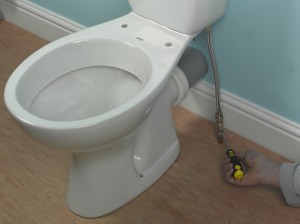 |
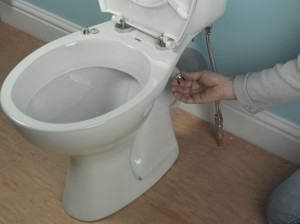
| 17. Reconnect the cold water supply. It may be necessary to use a flexible connector depending on the position of the new inlet pipe on the cistern. | 18. Turn on the water supply at the isolation valve and check for leaks along the pipe at all the joins. Also check whether the pan connector is leak free. |
 |
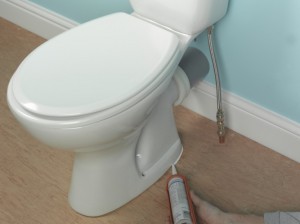 |
| 19. Fit the seat by inserting bolts through the pan and adding washers and nuts as provided. Adjust as necessary to fit the exact toilet bowl shape. | 20. Apply a final, continuous bead of silicone all the way around the base of the toilet pan and smooth off with a damp sponge for a neat finish. |
Further toilet fitting considerations
- Where waste pipes go down through the floor rather than out through the wall, normally the technique remains the same for connection. A right-angled pan connector is required, but this is the only main difference. If in doubt, ask a professional about the different types of pan connector available.
- When fitting a toilet, it is always best to bed the toilet pan on silicone sealant to take up any unevenness in the floor surface. Small wooden/plastic wedges may also be used to get the pan level, but ensure there are enough, and that they are bedded on silicone to evenly distribute the weight.
- If you are changing the floor height in your bathroom, waste and supply pipes will also need to be adjusted. A small difference can be overcome using offset pan connectors and a flexible pipe connector for the cold water supply. For larger differences, more advanced plumbing skills will be required.
- When fixing into surfaces, take great care not to hit any hidden pipes or cables. A cable, pipe, and stud detector will help you find safe fixing points.
- If you plan to alter your bathroom, always ask a qualified electrician to advise whether or not the bonding and earthing arrangements in your home need to be improved for safety reasons.
